SaaSConsole lets you manage your Manage repositories, projects, and groups.
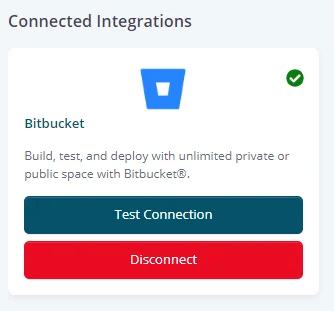
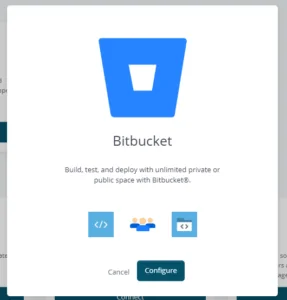
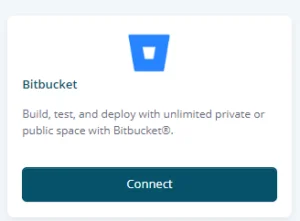
Connect Bitbucket to SaaSConsole
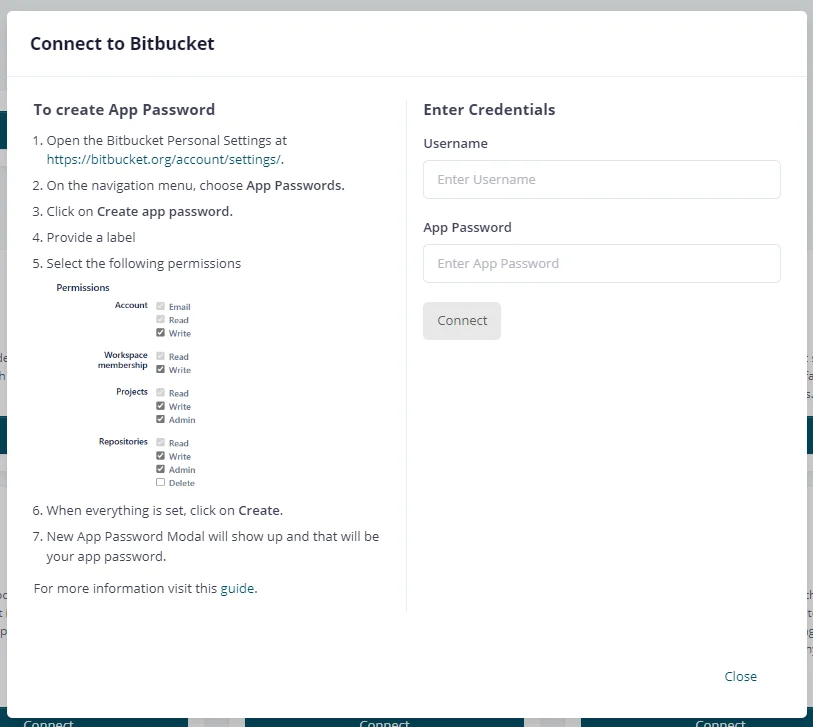


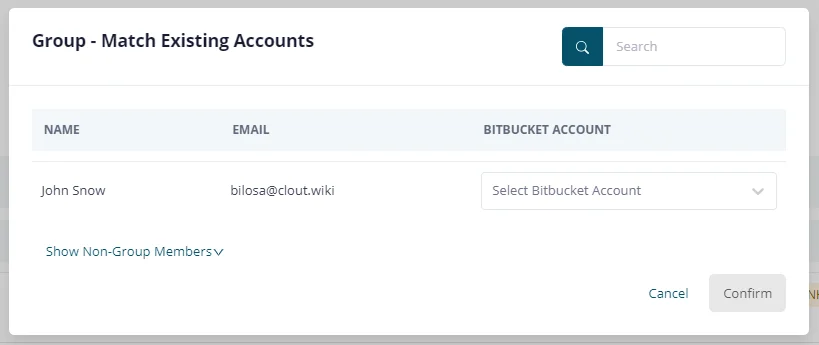


Users can also choose to automatically connect the repository to the SaaSConsole group
by checking the option in the create modal.
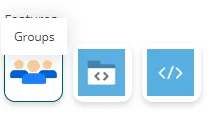
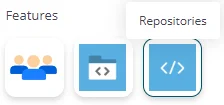
1. Under Bitbucket Integration, click on the Repositories feature.
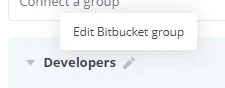
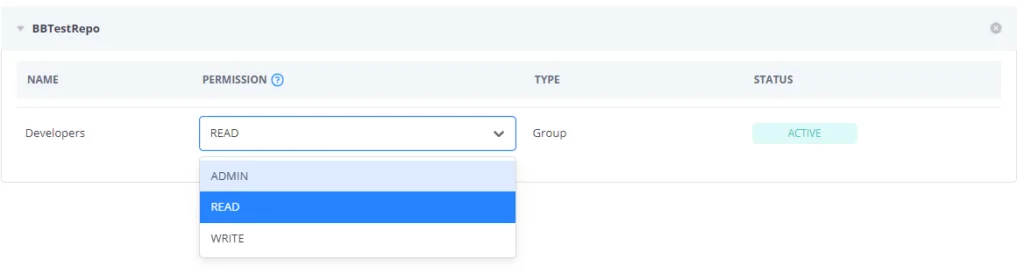
This feature allows you to manage repository group permissions within SaaSConsole.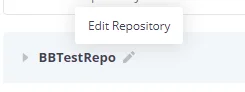 2. To edit a Bitbucket repository, hover your mouse over the connected repository name.
A pencil icon will appear—click on it to access the repository editing options.
This will open the Edit Modal, where you can make necessary changes.
2. To edit a Bitbucket repository, hover your mouse over the connected repository name.
A pencil icon will appear—click on it to access the repository editing options.
This will open the Edit Modal, where you can make necessary changes.Steps: